When you have completed previously detailed 3 steps of (1) Edit "PrintSF Connector" Connected App OAuth Policies, (2) Update Relevant User Profiles and (3) Add "Send Mailers" Button to Campaign Page Layout(s), verify your configurations by connecting to PrintSF successfully for the first time.
To do so, log into Salesforce as yourself (assuming you have a User Profile which was configured for access), and/or impersonate one or more other Salesforce Users with different User Profiles, and perform these steps:
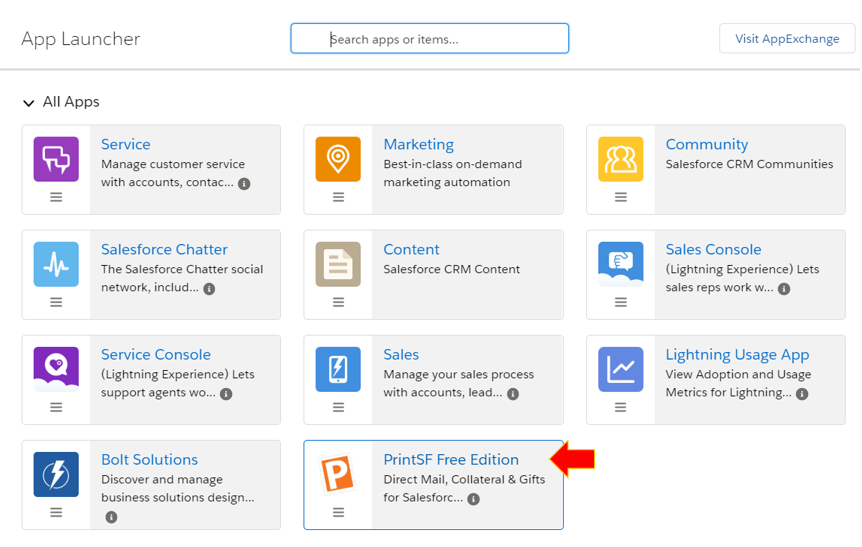
•Go to the APP LAUNCHER and select PrintSF Free Edition
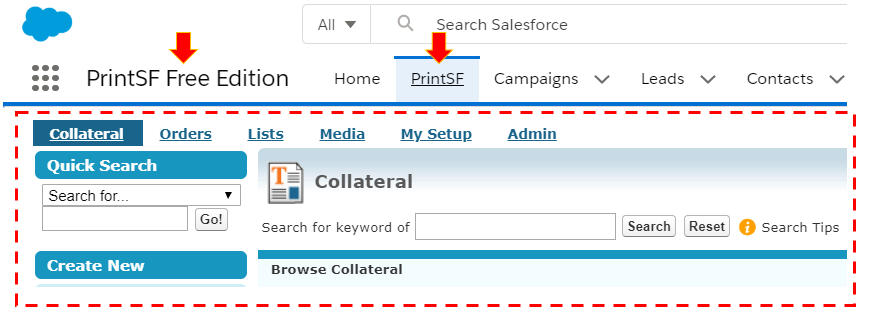
•At the PrintSF Free Edition App, click the PrintSF tab to connect to PrintSF.
•If your configurations were successful, after a few moments you will see the PrintSF application nested in Salesforce as shown below.